Note: This update requires updating your code:
• Update 'the_content();' with 'lpao_the_content();'
• Update 'get_the_content();' with 'lpao_get_the_content();'
Limit-Post is one of the better WordPress post content limiters we have come across, both in terms of usability and size. Developed by labitacora.net, Limit-Post provides excellent control over the post character length and even adds the ability to create a "read more ..." link with a single line of code.
Because the developer's site is no longer functional, we will keep this plugin updated for as long as possible. Below is the content from labitacora.net that was included with the original plugin; it's not much, but here it is.
"We have developed a plugin for WordPress in order to control the maximum number of characters displayed for an entry on the main page. If the set limit is surpassed, a link to a page with the whole content will appear, and the text on the entry will be chopped to that amount of characters; otherwise, the content will be shown unchanged."
A practical case: Replace the line the_content() in the index.php file with: lpao_the_content(320, "continue...")
It came to our attention not long ago that we needed to make use of the WordPress tag, get_the_content. For those unfamiliar, WordPress supplies two methods of displaying the post content through PHP;
Option #1:
the_content(); The most familiar method of displaying the post content
Option #2:
get_the_content(); The less familiar content tag, which strips all HTML tags
Option #2 is useful for listing articles or news without the interruption of paragraph breaks, block-quotes, or links, which can easily disrupt a strict layout. Not wanting to reinvent the wheel, we wrote a short addition to the Limit-Post plugin, giving it the added feature of the get_the_content(); tag.
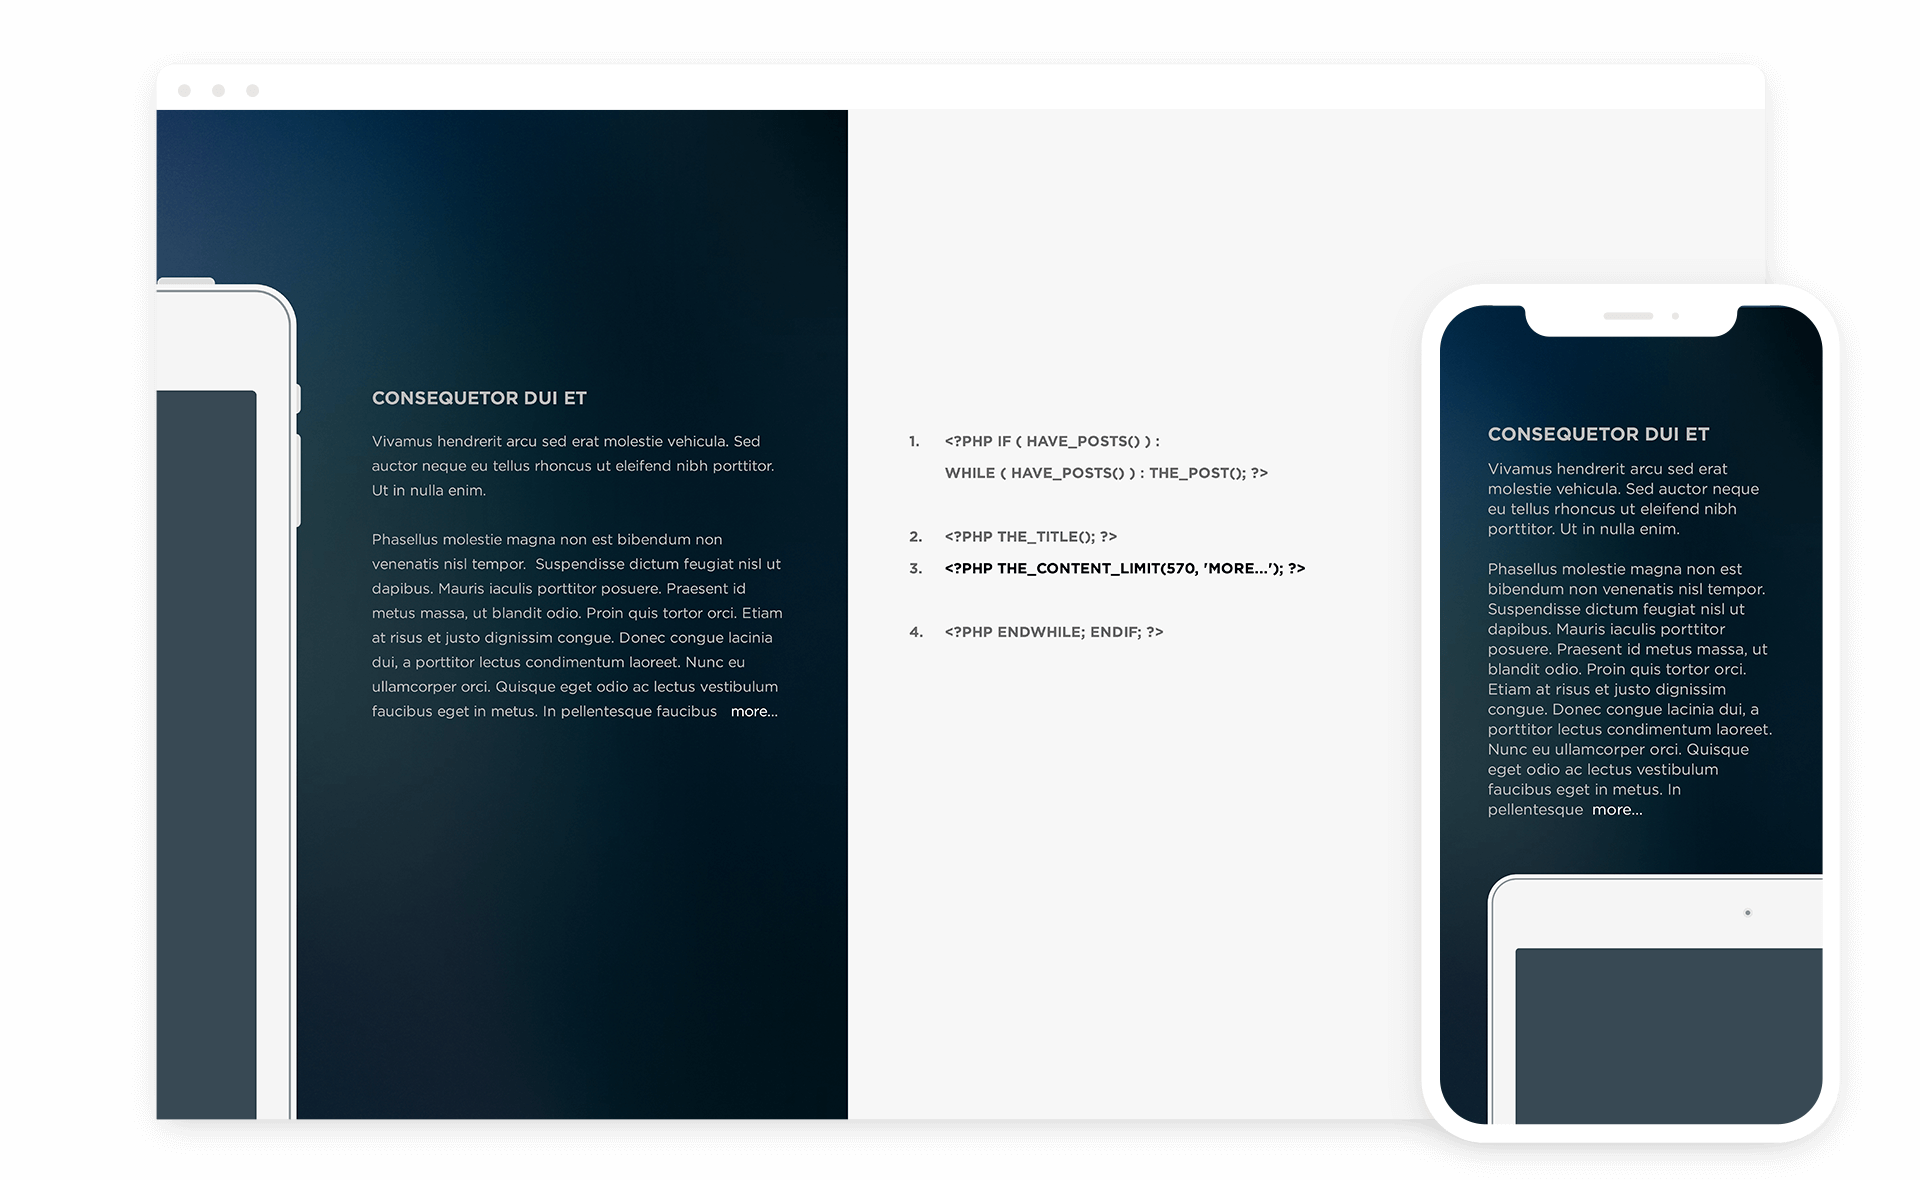
In the example below, we are modifying a WordPress loop. The loop displays your post content and is located in many places throughout your WordPress theme. To begin, locate the PHP file containing the posts you wish to alter with Limit-Post and search for the loop within that file. The loop should look similar to the sample provided below.
For example, let's say you wanted to use Limit-Post on your Index.php (Also known as your Home Page or Main Index Template). Visit your WordPress dashboard and click on "Appearances > Editor" now locate "Main Index Template" from the list of files on the right-hand side and search for the loop. Keep in mind that your theme may not be using the Main Index Template in a similar manner; therefore, you may need to search through other PHP template files (on the right-hand side of this same page) until you find the loop you need. Once you have found the correct loop, make the changes per the instructions.
In our example below, the post content is displayed with all HTML stripped out, 320 characters in length, and a continuous link of "continue...". Change the variables [320] and [continue...] to suit your needs.